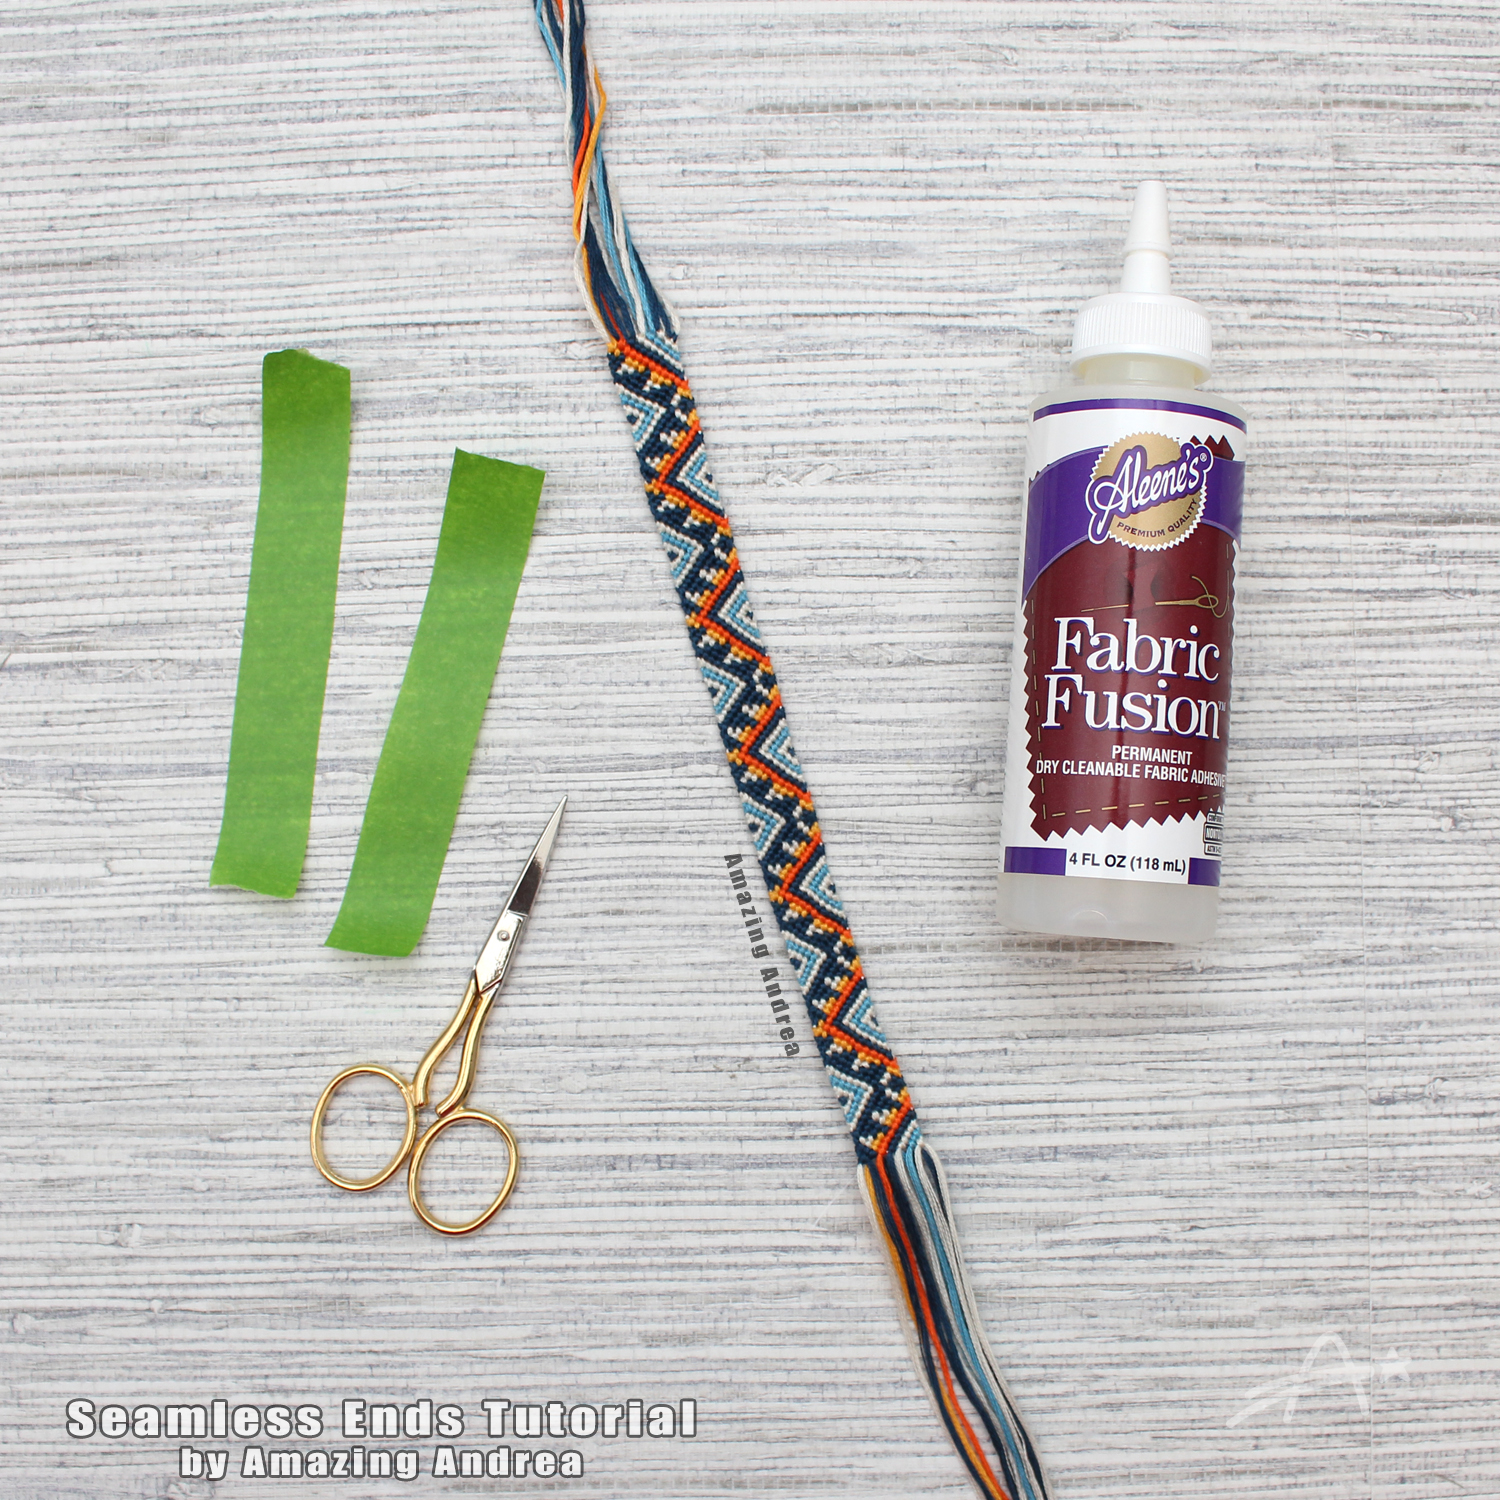
It’s easier than you think to create a seamless friendship bracelet.
Materials & Supplies
– (Almost) Finished Bracelet
– Fabric Glue
– Scissors
– Tape
Step 1
First you want to make your pattern as long as you need (I chose to end mine so the overlap will look seamless). For my personal length I repeated my pattern 6 times. I would recommend knotting one entire pass and measuring. Just remember that you have to make it big enough to put on like a bangle. So don’t just measure your wrist but the widest part of your hand. Mine was a tad on the tight side but I didn’t mind that.
For this example I will be using Pattern #34499 from Braceletbook. You can use this technique on any bracelet pattern but I personally think it’ll look the best on patterns that have a clear repeat.
You will want to leave your last row uncompleted. (For my example it is row 28 – highlighted by the red rectangle)
Step 2
Now you want to separate your strings. You will take out the colors needed to complete the last row. (I’ve highlighted mine with red circles)
The colors left out should be the same for the top as the bottom. With the leftover string I’m just taping down the ends so they don’t get in the way.
After both sides are separated and taped it should look like this.
Bottom part of bracelet.
Top part of bracelet.
Step 3
Now you want to have the “right side” of your bracelet facing inwards. Then match up the ends. Secure the right side with a piece of tape. This will make sure your bracelet stays together while you’re knotting.
So you’ll want to take your first pair of strings (in my case it’s the yellow ones) and REVERSE foreword knot them together. This is where your knotting string goes UNDER instead of OVER and you’ll pull the string DOWN through the loop instead of UP through the loop. You’ll make a total of 2 knots this way. This will make the correct knot on the other side – the right side.
Set those strings aside and grab the next pair. (On my pattern it’s the orange ones. Repeat tying each pair with REVERSE foreword knots.
Once you’ve tied those put some fabric glue on the knots. I pushed the glue into the knots with a toothpick and my fingers. Be sure to glue the backside of the knots as well. I let mine dry about 10 minutes before moving on to the next step.
Untape the rest of the strings but leave your previous strings hanging in the front.
Step 4
Step 5
Now it’s time to pull the tape and see how we did!
Mine was ALMOST seamless. Apparently I had a dark blue knot pop out between my white and light blue ones.
Then you’ll just want to trim your ends. I cut mine with about 4mm left on each side. And because we used fabric glue there are no sharp ends!
I added one more coating of glue for good measure. I have been wearing this bracelet (non-stop) for over 6 months now and it’s still holding together.
So give it a try and experience a bracelet without any annoying ends! Feel free to join the BraceletBook community to discover thousands of patterns!
Take care and happy knotting!


0 Comments