
DIY Face Masks
How to make your own face masks using some scrap fabric, elastic and a small piece of wire.
Materials & Supplies
– Fabric & small piece of felt
– Elastic (2 pieces 13cm each)
– Wire (10cm)
– Scissors & Pins
– Paper, Pencil & Ruler
– Sewing Machine (or needle & thread)
– Elastic (2 pieces 13cm each)
– Wire (10cm)
– Scissors & Pins
– Paper, Pencil & Ruler
– Sewing Machine (or needle & thread)
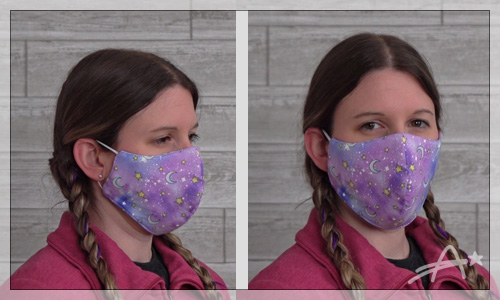
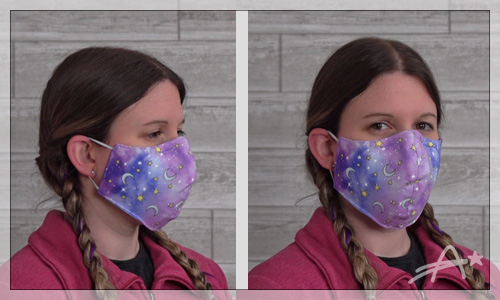
Whether you need a mask for everyday renos or would like to shield yourself come flu season, this mask is a quick sew with very few materials.
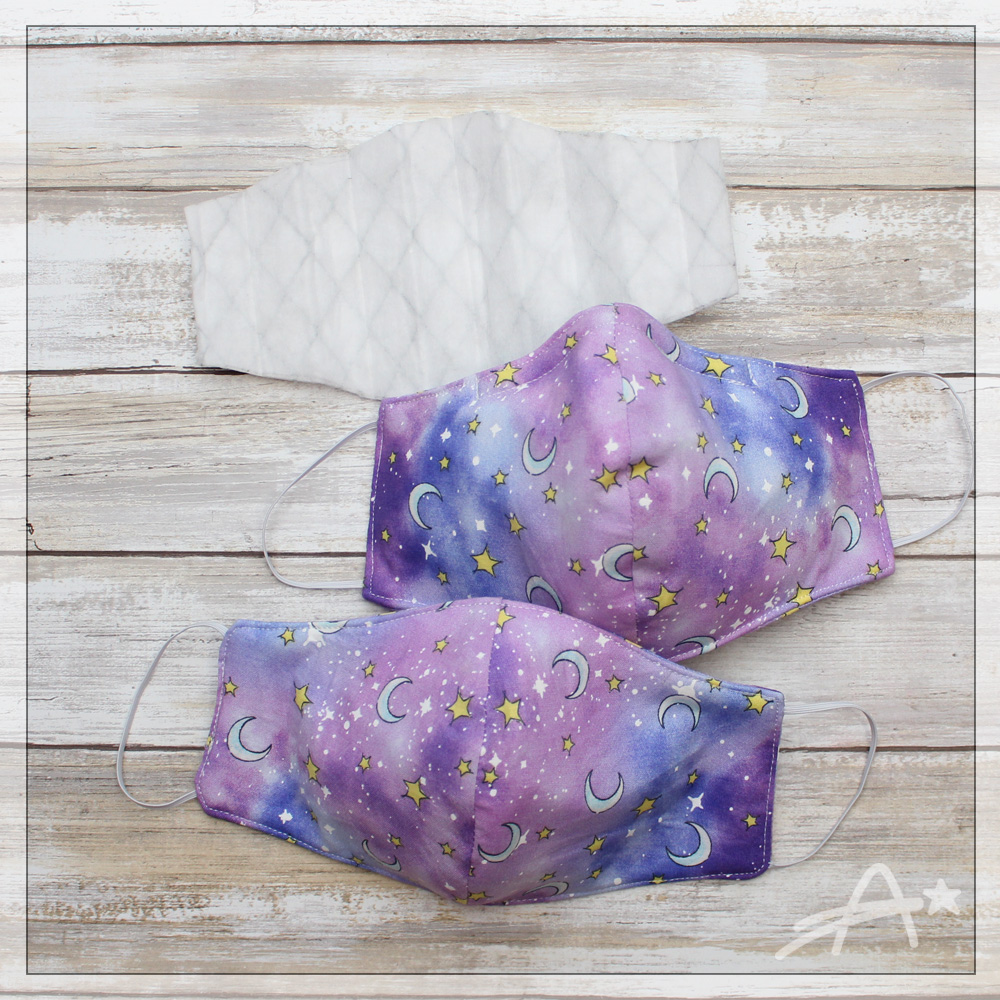
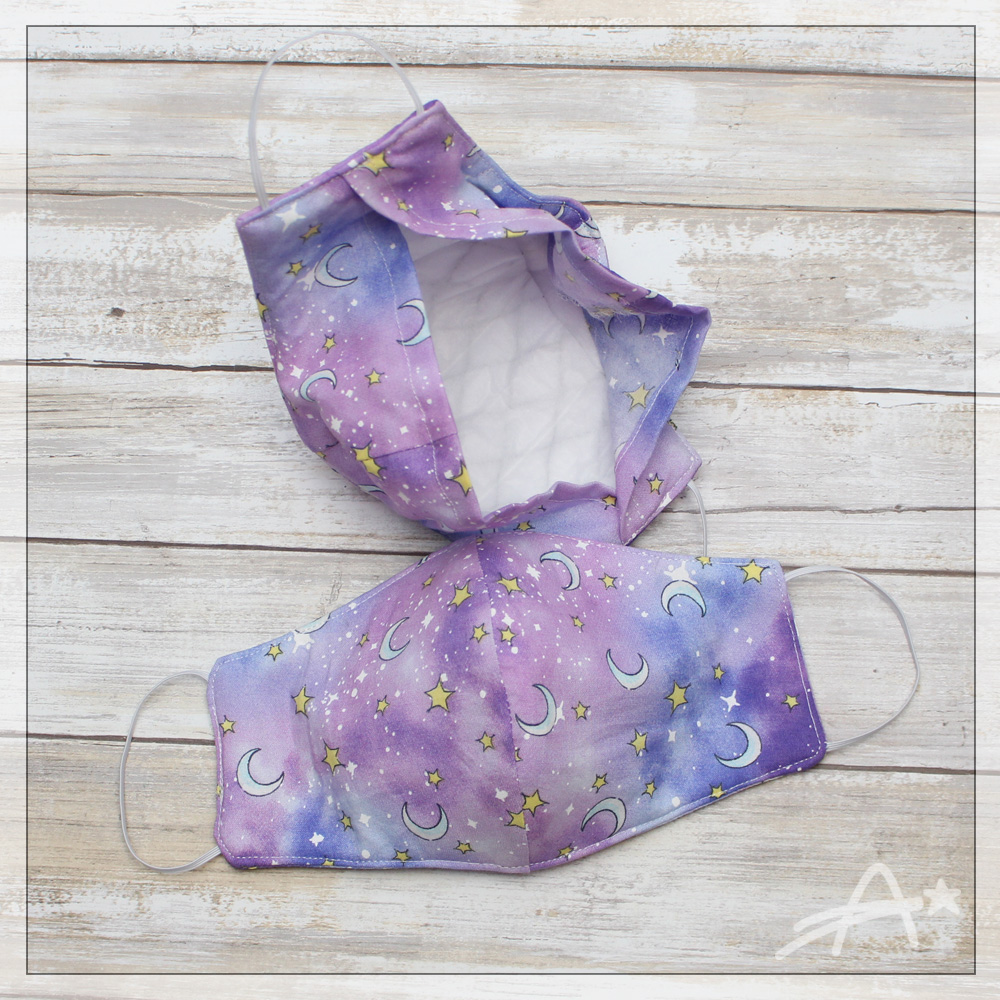
I will show you two versions, one with a pocket so you can add and exchange your own filters and one without. You can also add wire for a better fit around the nose.
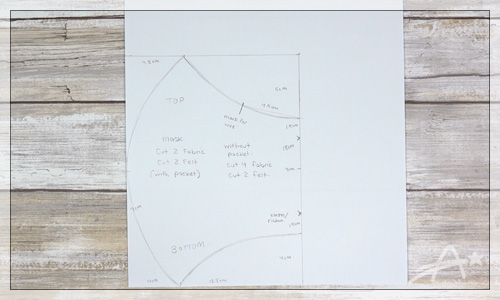
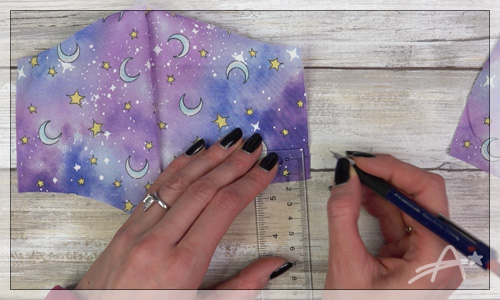
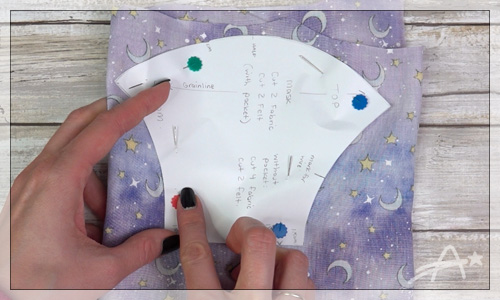
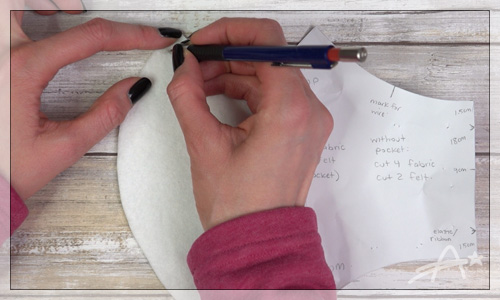
I made my own template after trying out about 3 different styles and I found this one to be very comfortable. All the numbers are on the paper. If you need a larger or smaller mask you could just add or take away from the overall size.
Make sure to mark a center line. This will be where the pocket pieces will come from.
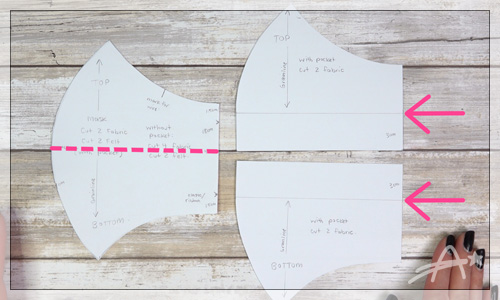
For the pattern with the pocket you will need to re-trace the mask top and bottom separately from the center line. Then add 3cm to each one. This will be the overlap part. If you just want to make the no pocket mask then you can just skip this part.

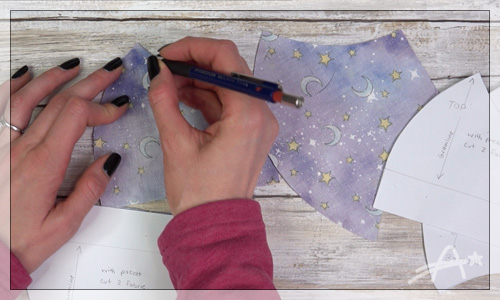
After pinning your pattern pieces to your fabric (which has been folded in half) go ahead and cut them out.
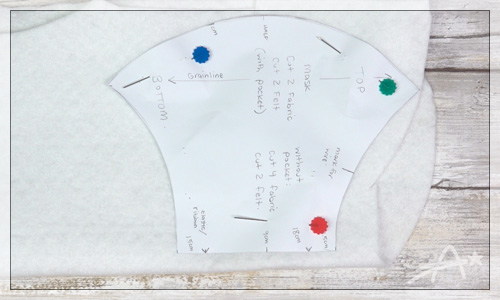
Do the same thing with your piece of felt.
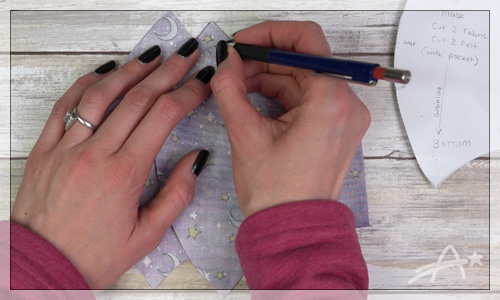
Then you want to go ahead and mark all your fabric pieces that are a “top” with a “t”. Trust me this comes in handy later.
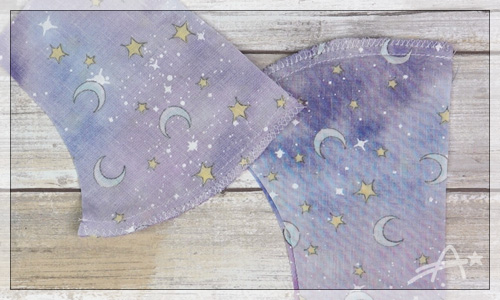
Now you’ll need to straight stitch the curved lines of your fabric. As well as the felt. For the pocket mask you will need to zigzag (or serge) the edges. This ensures they don’t start to fray.
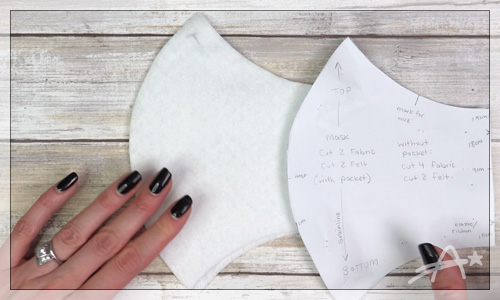
After the felt has been straight stitched you will push it’s seam to either side. Then straight stitch on both sides. This makes sure it’s not too thick when you go to sew it later on.

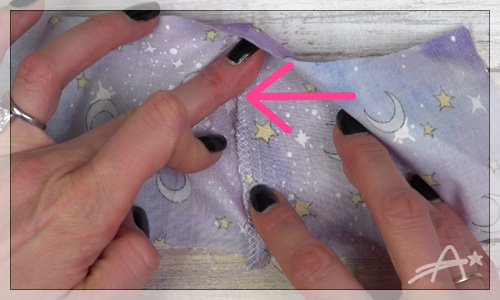
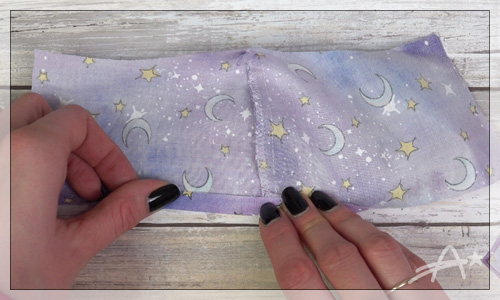
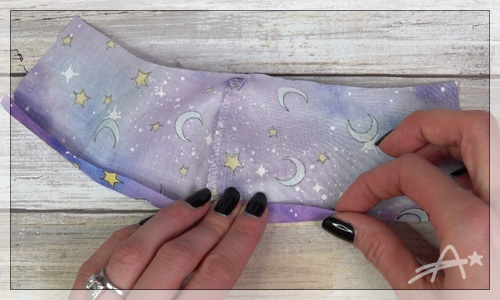
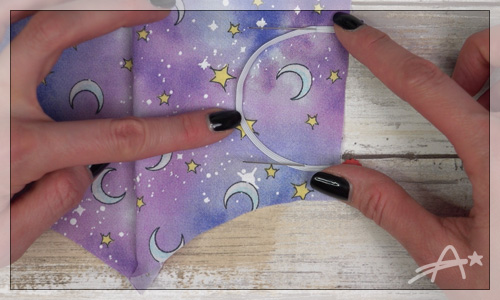
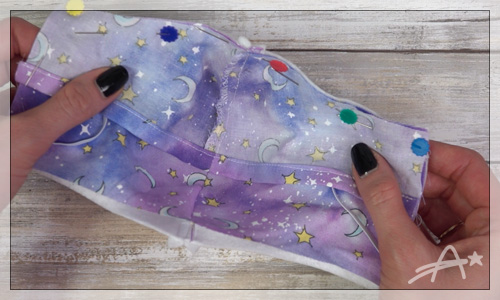
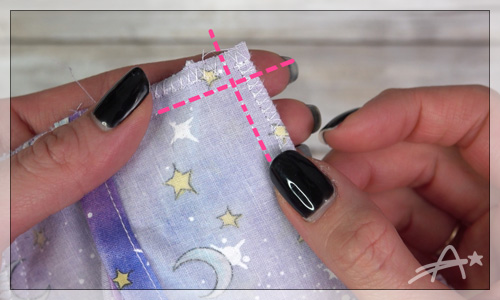
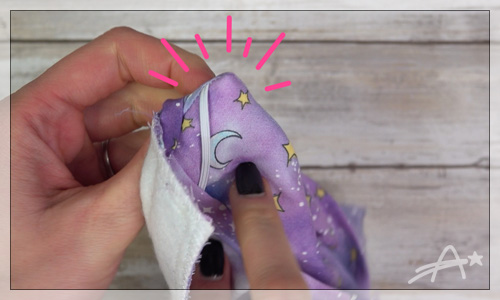
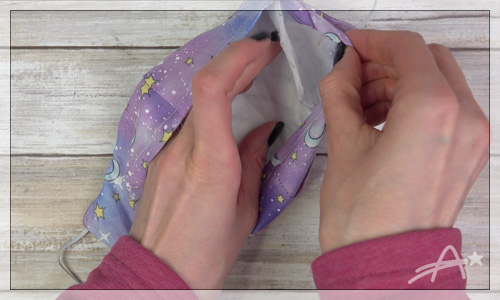
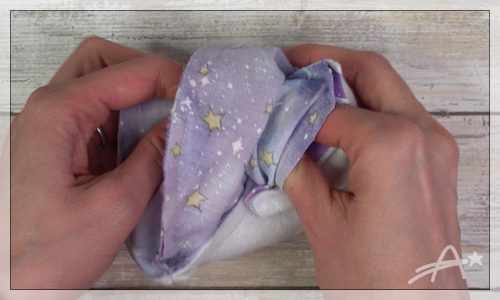
For the fabric pieces the seam will get creased to one side. You can iron this or use your nail like I did. Then you want to take the two smaller pieces and on the extra 3cm side you want to fold up about a 7mm seam. Crease that flat. Then fold it up one more time encasing that raw edge on the inside. Then you just have to straight stitch a 1-2mm border on the inner edge.
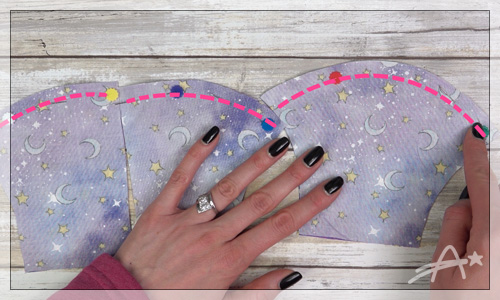
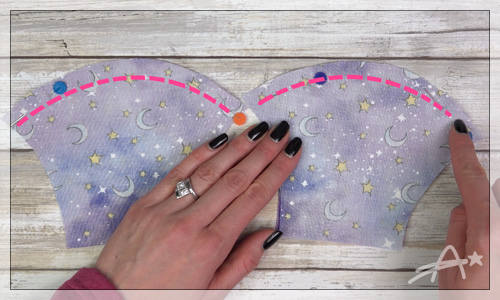
Now you want to mark where your elastic will be attached. I marked 1.5cm from both top and bottom edges on both sides.
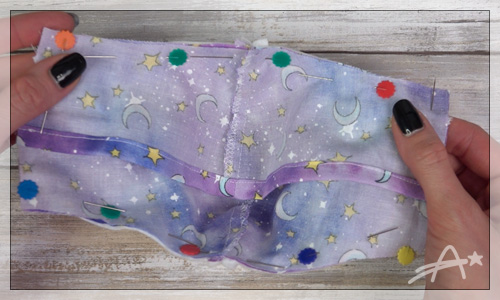
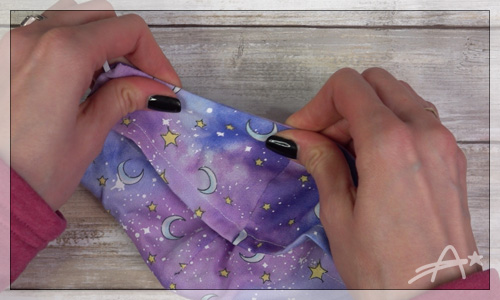
Then pin the elastic down. Make sure that the elastic isn’t twisted and lies flat like this. Give it a quick zigzag stitch to ensure it stays in place.
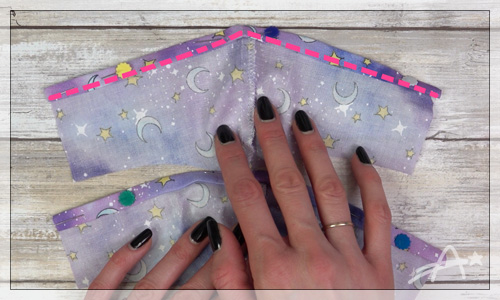
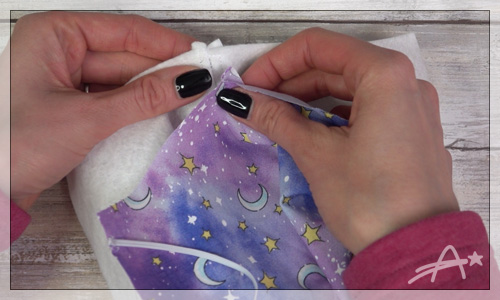
Now it’s time to start attaching all the pieces together. The felt will go first, then place the larger mask piece right side up matching the “t”s. Then place the smaller piece with the “t” right side down on top of those. Pin those in place.
After the top has been pinned repeat the same thing with the bottom, matching the seams first and overlapping the sides over the top pieces.
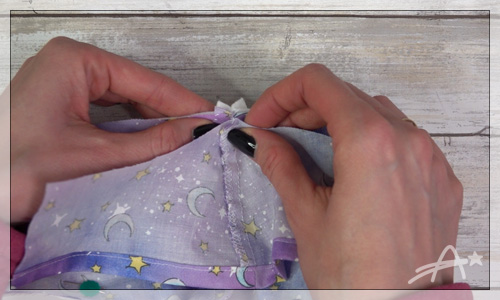
After the top has been pinned repeat the same thing with the bottom, matching the seams first and overlapping the sides over the top pieces.
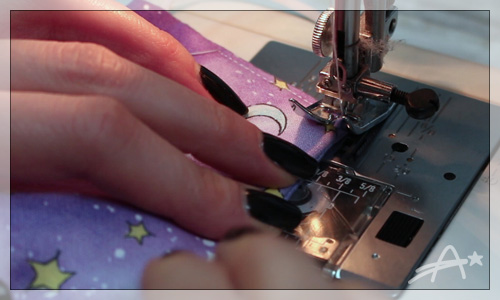
Then straight stitch around the whole piece, then go over the edges with a zigzag stitch.
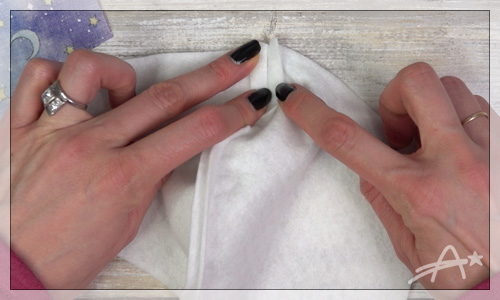
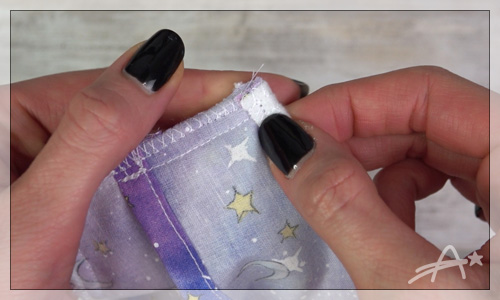
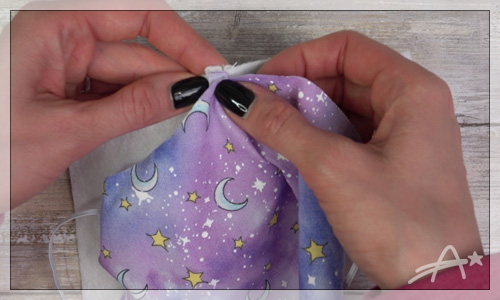
Here is my trick for a “perfect” corner. Imagine the stitch lines extending and fold along the first one. Then the second.
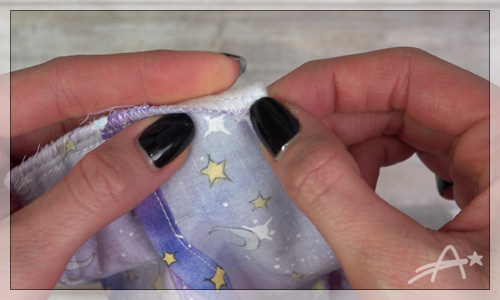
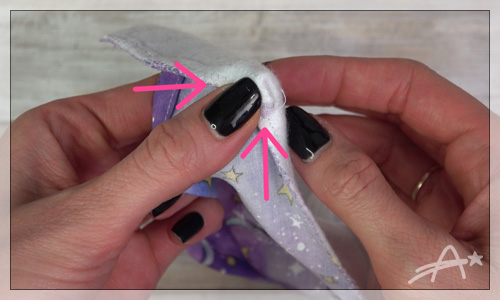
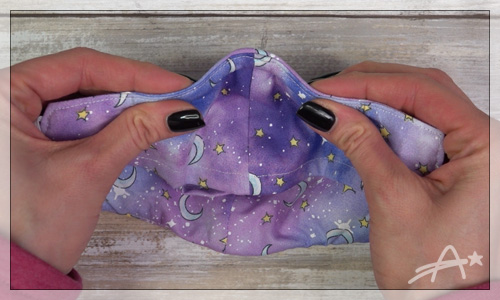
Now you want to stick one finger inside the fold to pinch this overlap. Pinching tightly turn right side out. Tada! Perfect fold everytime.
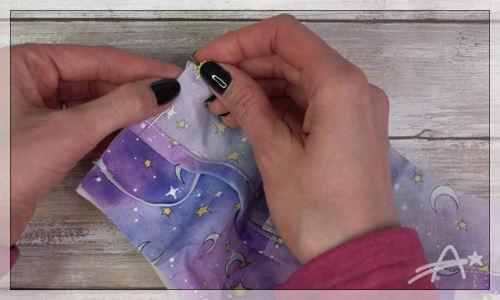
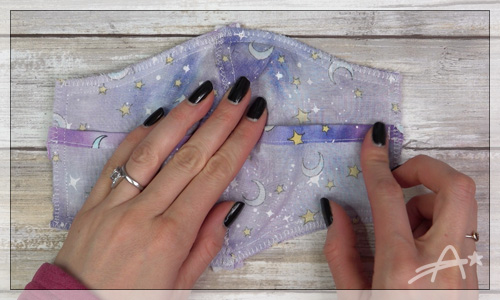
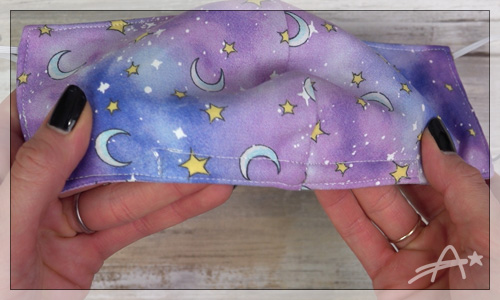
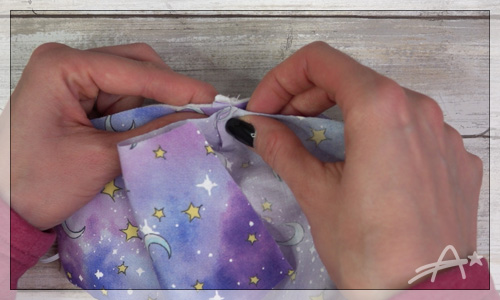
Smoothing out the edges the best you can we’re going to add a top-stitch. This will be about 1-2mm from the edge.

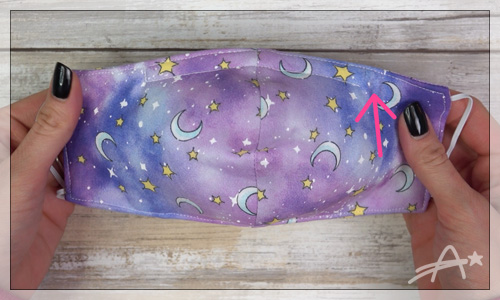
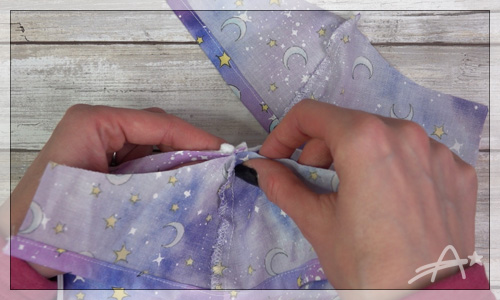
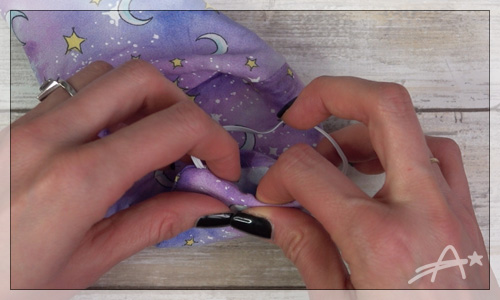
Time to sew a channel for the wire. I would recomment leaving both sides open. You may have some issues inserting the wire because of the center seam.
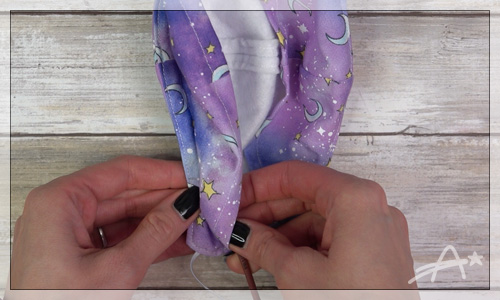
After that just sew a line to close that encased wire.
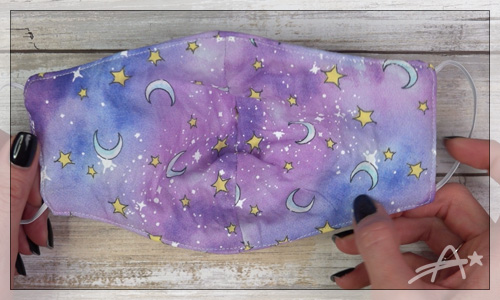
I love that this small little piece of wire just makes the mask that much more customizable.
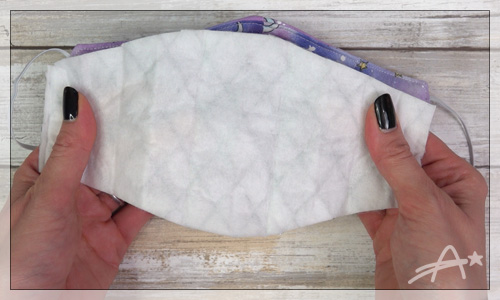
If you happen to have a high rated furnace filter you could cut that down into inserts. Mine had wire on the inside so I had to be careful putting it inside the pocket.
For the mask without the pocket you will 4 pieces of the mask pattern. I folded my fabic in 4 so I only have to cut once. Then label your “t”s.
Cut 2 pieces of the felt just like before. Sew the seams on the felt the same as the one with the pocket.
Then straight stitch the 2 fabric pairs. You won’t need to zigzag because this mask will be closed off.
Time to put it all together. Have all “t”s pointing up then place one layer of the fabric piece right side up on top of the felt. Then put your second fabric piece right side down on the that matching the top seam.

Straight stitch around the outside but make sure to lave a gap on one side so you can turn it inside out.
It’ll take a while to turn inside out but just keep working it. It’ll eventually go through.
Fold in that open edge and top stitch around the edge. If you want to add wire to this one you’ll need to add that channel first.
Show/Hide Comments (0 comments)
0 Comments